Hello everyone,
Today I would like to share an easy and interesting experiment, which demonstrates in a micro environment how our planet works. It is a fun for everyone experiment, no matter how old are you, and you can observe some interesting facts about our nature. In part 1, I will talk about the creation of a terrarium, while in the part 2 the scientific explanation how things work and what process is going through inside the glass.
First of all, let’s talk about how to make it and what you will need:
– a glass container
– a lid (preferably corkwood, but others will do too)
– rocks
– soil
– plants
You can either do it yourself or buy kits in shops – either way, it should be easy. In my case I will use a kit and in the future I plan to do my own version. If you are doing your own version, it can be more advanced – later I will tell your more about it.
So let’s start!
What did I get in the kit? I got some Asparagus aethiopicus seeds, a bag of Pozzolan (volcanic) stones, dried and pressed coconut coir soil, couple of stones (decoration), 2 panda figures (decoration), Lichen.

You may ask, is it good or enough to build a terrarium? Yes, but of course it could be improved slightly.
Before I have started to build my terrarium, I have soaked 2 paper towels in lukewarm water and wrapped it around the asparagus seeds.


Then I have left the seeds in a fairly warm location (it is summer so close to the window) for 24-48 hours to start the germination process. Now comes the waiting…
After 1,5 days, I took the seeds out of the wet paper towels. Now the terrarium was ready to get assembled.
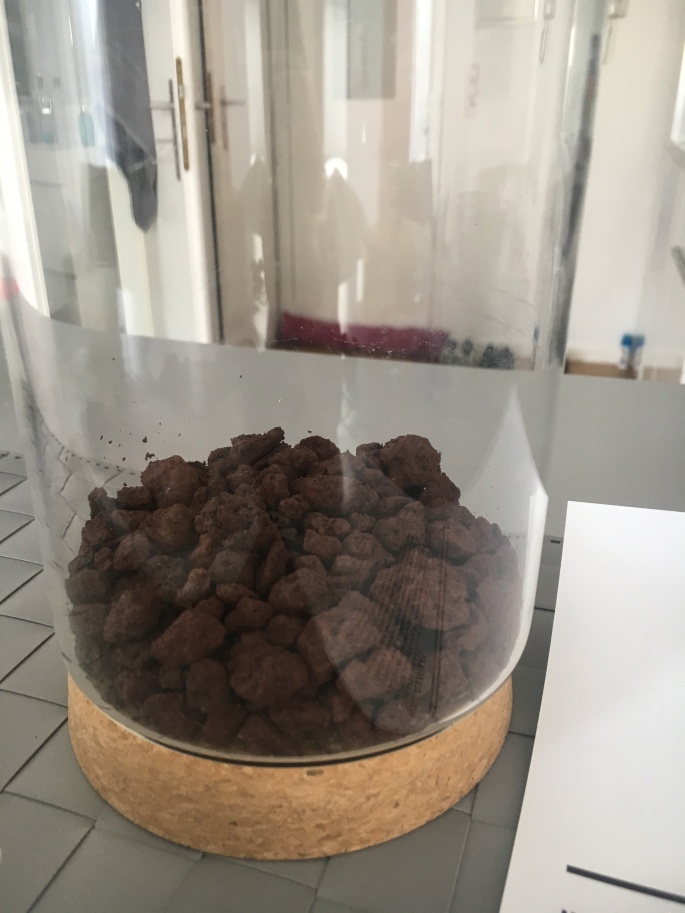
I have put the pozzolan stones on the bottom, to ensure that the access water wont sit in the soil to prevent mold.
Next step was the soil. I received dried coconut coir soil, which means I needed water to make “useable” soil. I have added double amount of water than the volume of the coir, and let the soil sit in the water for couple of minutes.


At this point, I recommend you to use gardening gloves or latex gloves to avoid messy situations – especially if you are indoors like me! 🙂 Next with a spoon or small shovel (or with hands like I did), you can add the coconut coir on the top of the rocks and spread it on the surface equally. Do not mix it with the stones, the purpose is to let the access water drip down through the stones.
Next step are seeds. First, I have dropped them on the top of the coir and then carefully to push them in the soil, about 1 cm deep.


If you have a small wooden stick, it can help a lot to arrange the seeds nicely.
Finally all I had to do is place the lichen on the top. Before doing so, I have placed it in water for couple of minutes to ensure it soaks some water up and get it a little bit more clean. The reason why the lichen is there is not because of decoration, but because of a very important task. It will stabilize the environment.


As a final touch I have added couple of drop (distilled) water, and my terrarium is read to get sealed tightly. I didn’t add the decoration elements to give more space for the plants to grow, but if you want, you can do so.


I leave it on my table in the living room, close to the window where it gets enough light and warmth. During summer, especially if you have hot a strong sun, it is advised to move it to a more shady location, while during winter closer to the window. Also don’t be surprised if during winter it dries out, it can happen if you keep it too close to heater. In this case, just remove the lid and add couple of drops of water.
At this point you can also ask, how do I know I had added enough water and not too much/little? It isn’t a problem if you can’t get the right amount right. First of all, after you have sealed the lid, you can see some drops on the side of the glass.


It is normal and if you see this, you did right. The problem starts (example on picture) if you see the walls are foggy and not dripping water. That means you should open the lid and wait couple of hours/ half a day, so access water will evaporate from the glass, and then again seal it tightly. It is a bit challenging to find the right balance, but not impossible. So don’t forget, if you see water dripping of the wall is good, if you see that the walls are foggy (like mine), just open it and let the access water evaporate!
In case you wish to “upgrade” or make your own terrarium, I highly recommend to watch the following YouTube videos by SerpaDesign:
He mentions various rocks, soils, plants and even life within the terrarium. He also highlights the importance of springtails in the closed environment and why their presence is beneficial. I highly recommend to check it out!
I hope my experience made you curious to start your own terrarium! In couple of days, I will publish my follow up post on “how does a terrarium work?”
Thank you for reading!